
Essential Sound Gear for Filmmaking
Bad audio can ruin a great video faster than bad lighting ever will.
We’ve all been there — spending hours in post trying to fix muffled or echoey dialogue. But great sound doesn’t start in the edit suite… it starts with the right gear and smart mic placement.
In this post, I’ll walk you through my essential sound gear for filmmaking — the same setup I use for weddings, interviews, commercial shoots, and YouTube videos. From recorders and mics to cables, wireless systems, and those small accessories that make all the difference.
All products mentioned below are linked through affiliate links — clicking them helps support my channel and website at no extra cost to you. Thanks for helping me keep the creative wheels turning!
Why Audio Matters More Than You Think
Audio is half of what makes a great video.
Viewers will forgive slightly soft focus or imperfect lighting — but they’ll click away the moment your sound turns harsh, echoey, or distorted.
The truth is, 90% of great sound comes from proper microphone placement, and only 10% from EQ and post-processing.
Your microphone doesn’t hear like your brain — it hears everything, from air-conditioning hum to light fans and reflections.
Learning to “hear like a microphone” will instantly make your videos sound cleaner and more professional.
Understanding Shotgun Mics
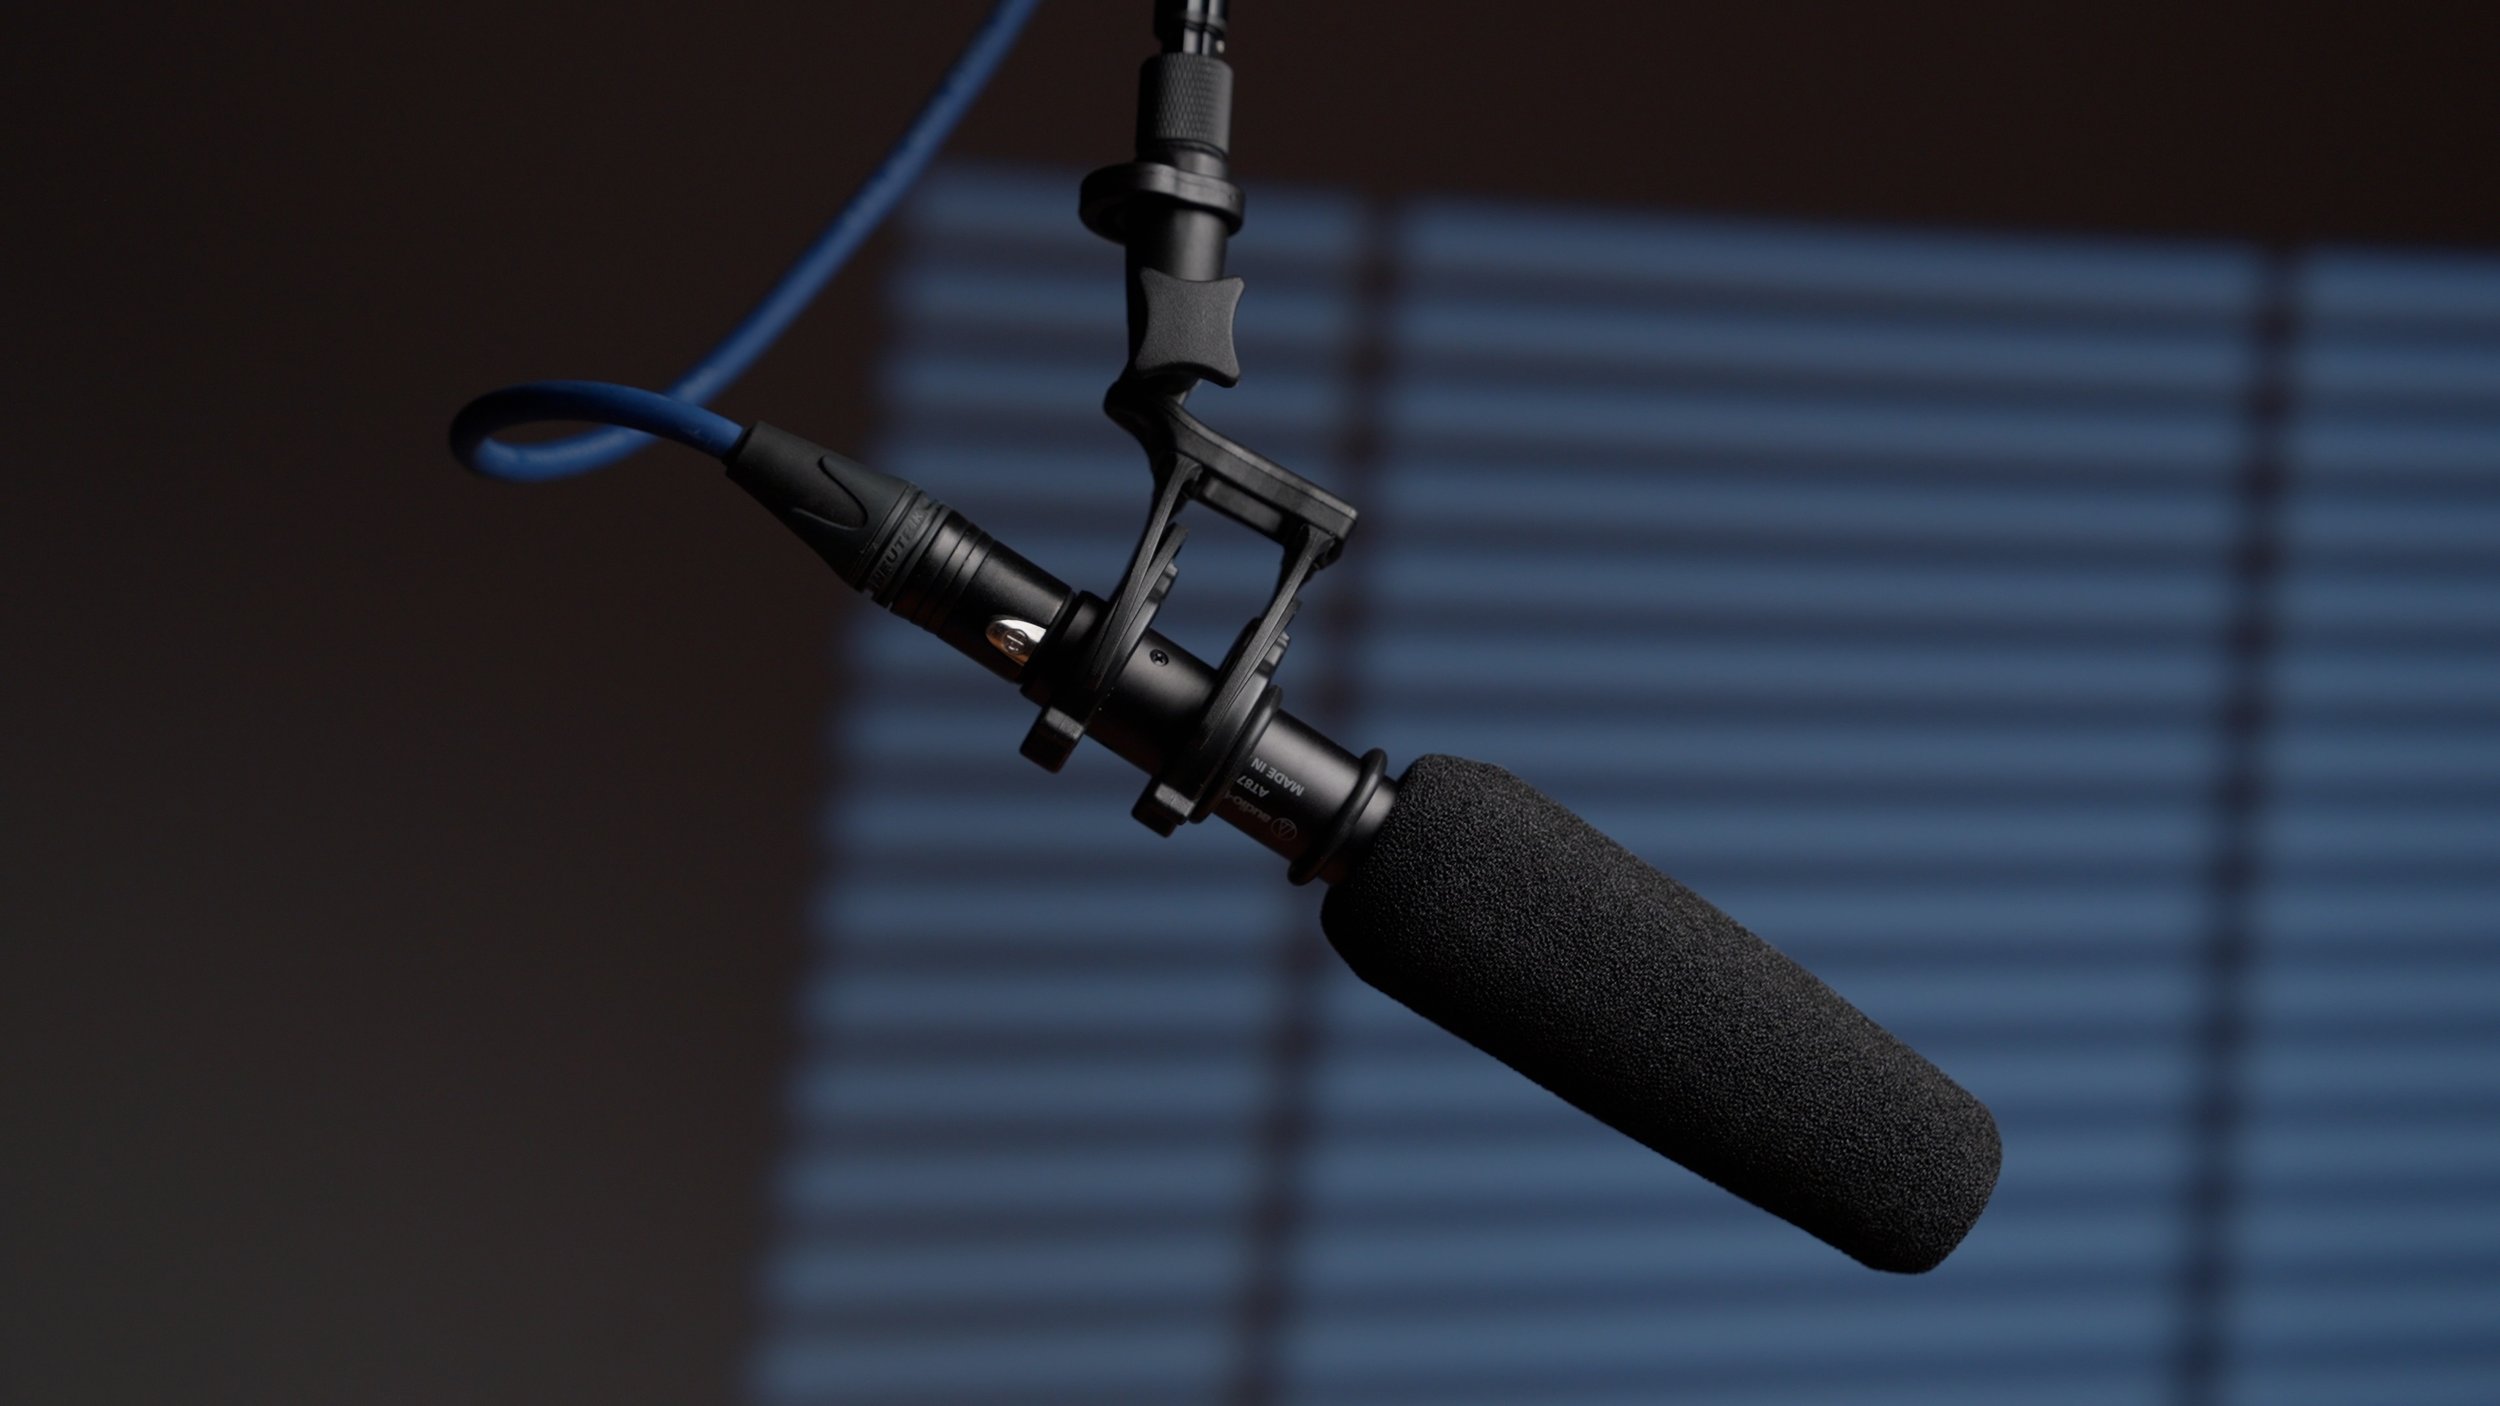
For most of my projects, I rely on shotgun microphones because of their narrow, directional pickup pattern. They hear sound in a cone shape — perfect for isolating voices.
A close mic that’s slightly off-axis will always sound better than one that’s far away but perfectly aimed.
I usually position mine just out of frame, pointed towards the subject’s chest, not their mouth. This gives a natural tone and avoids reflections from desks or ceilings.
If you’re filming indoors, be aware of your environment — air vents, lights, walls — anything that can reflect or generate noise. The mic should always be pointed at what you want to hear and away from what you don’t.
Setting Your Levels
When recording dialogue, your average levels should sit around –20 dB, with peaks no higher than –12 dB.
Hitting zero means clipping — and once it’s clipped, it’s gone.
Always enable a low-cut filter (sometimes called a high-pass) on your mic or recorder to remove low-end rumble and wind noise.
My Essential Sound Gear Breakdown
The Case
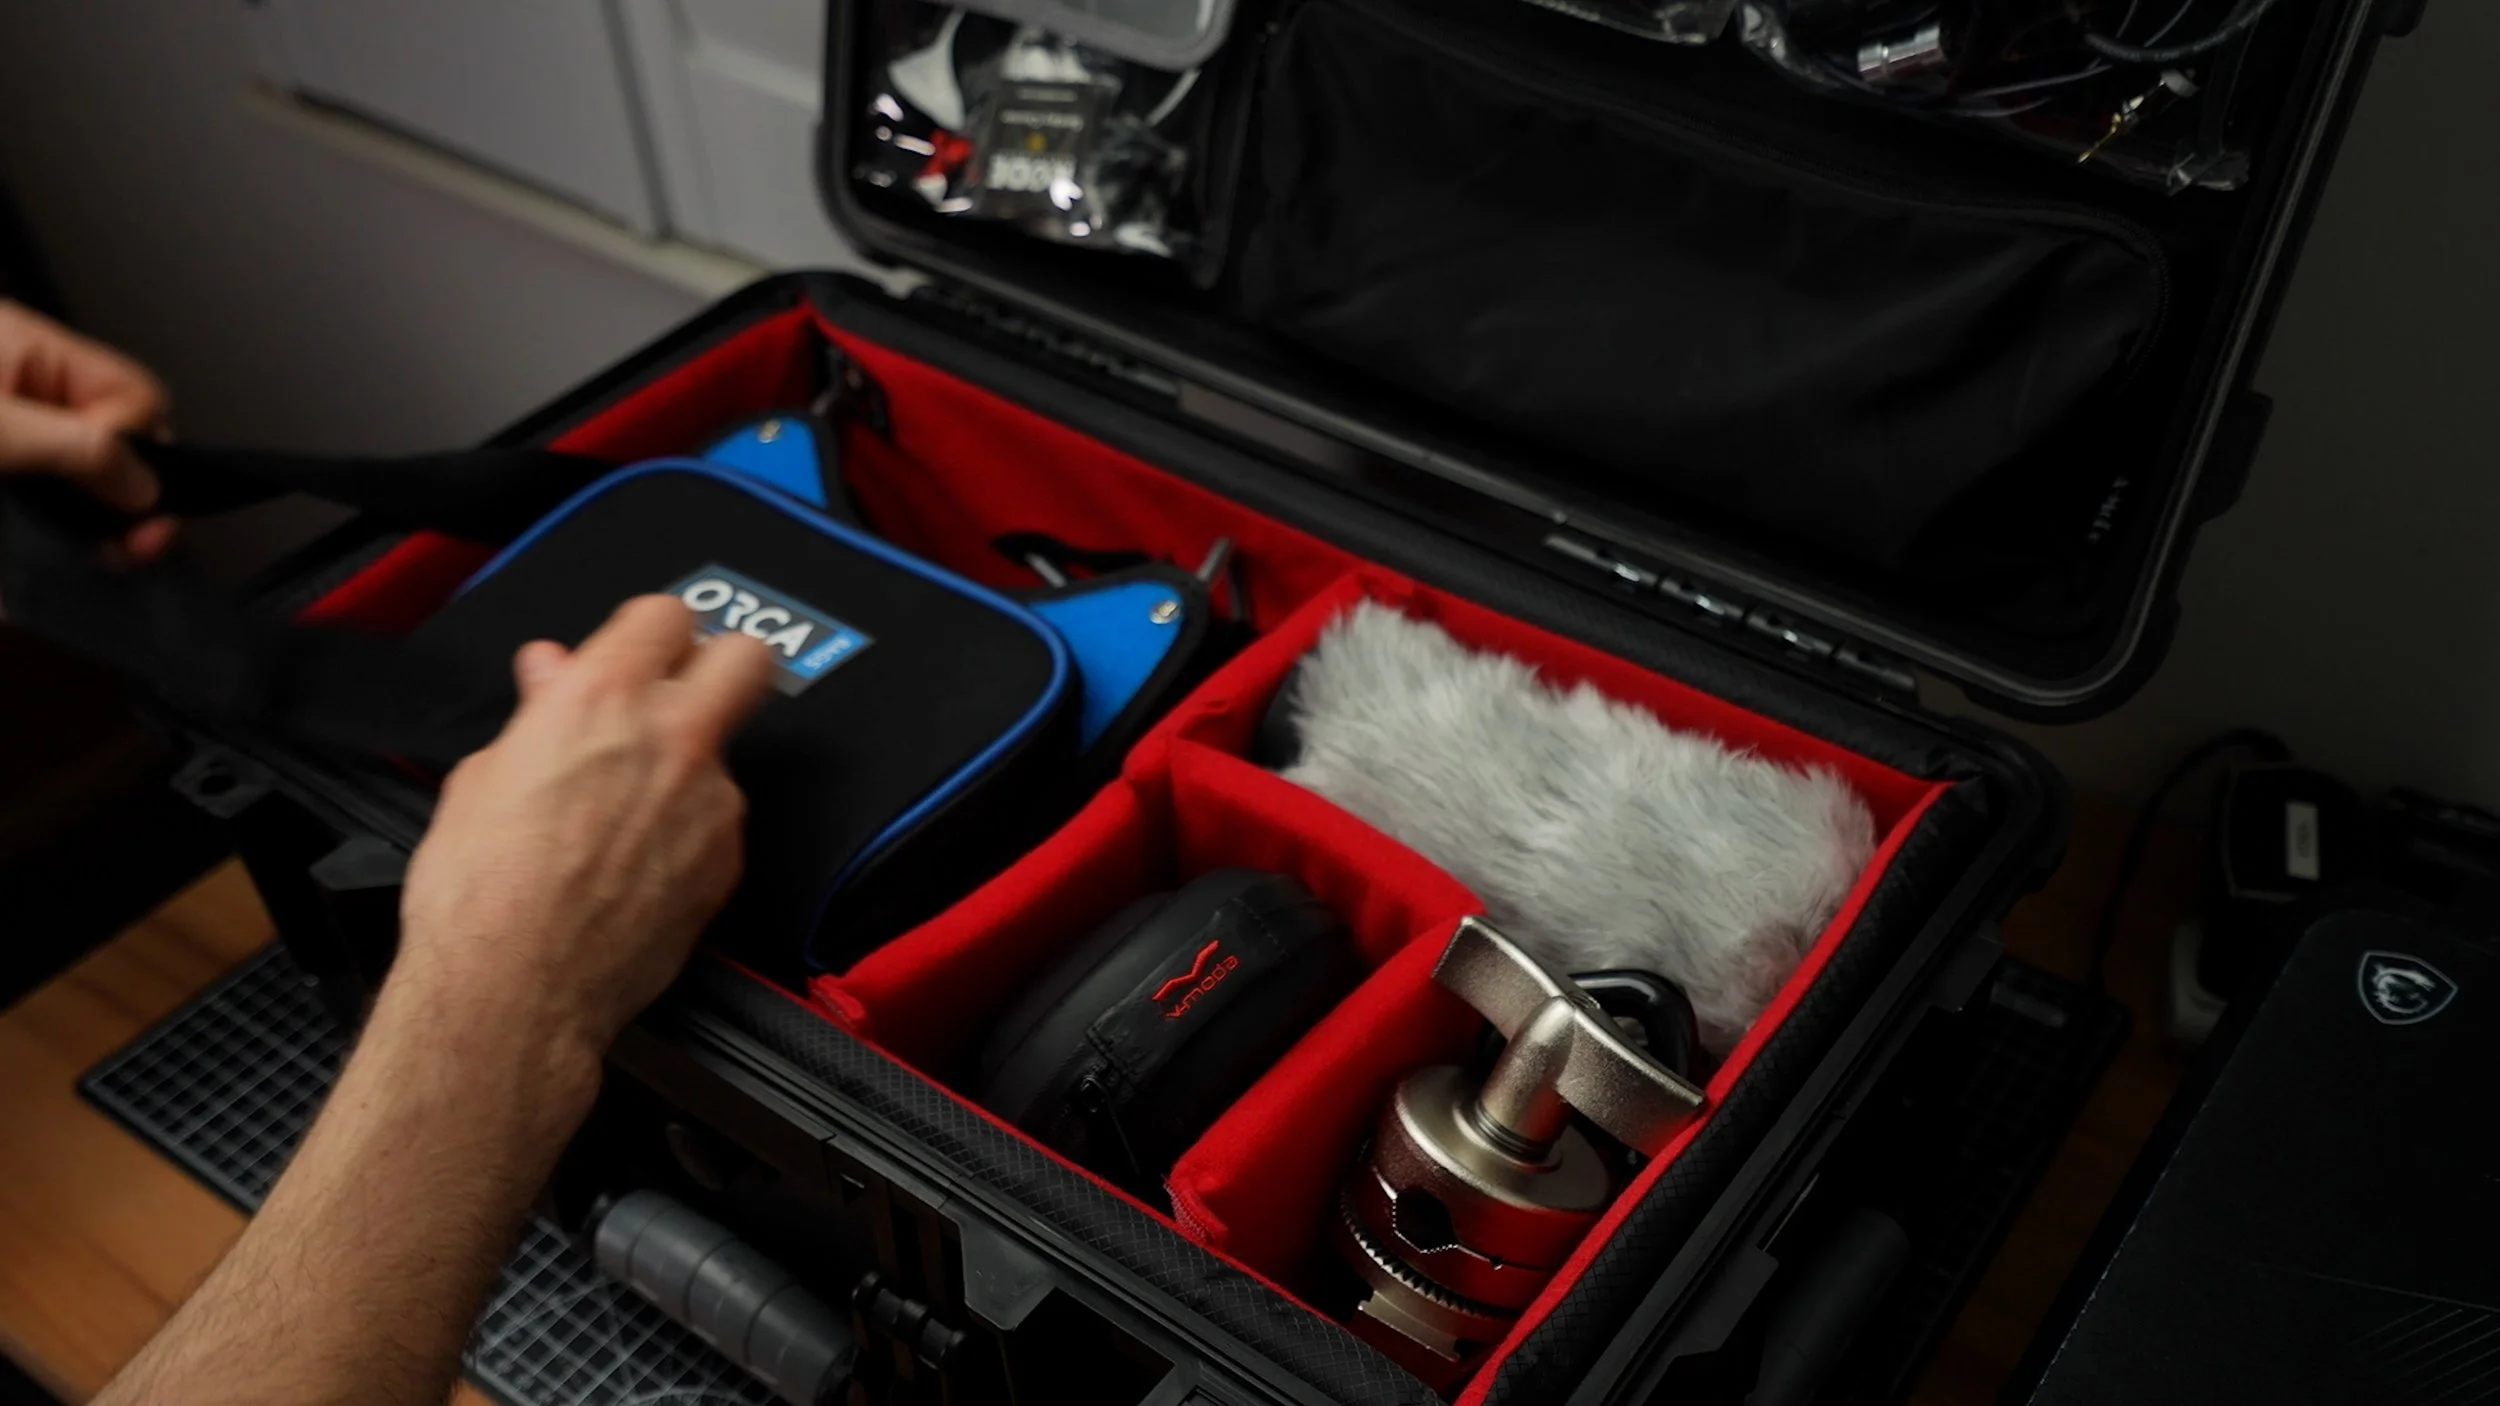
I transport all my audio gear in a US PRO Equipment Tool Box, fitted with an A-Mode padded divider set made for a Peli 1510.
It fits perfectly, costs less, and is easy to customise thanks to the Velcro partitions.
Inside the lid, I’ve added a pouch system for smaller accessories — lav stickers, thread adapters, batteries, and windshields.
And yes, it’s got wheels — because no one wants to carry heavy gear across a muddy field.
The Recorder
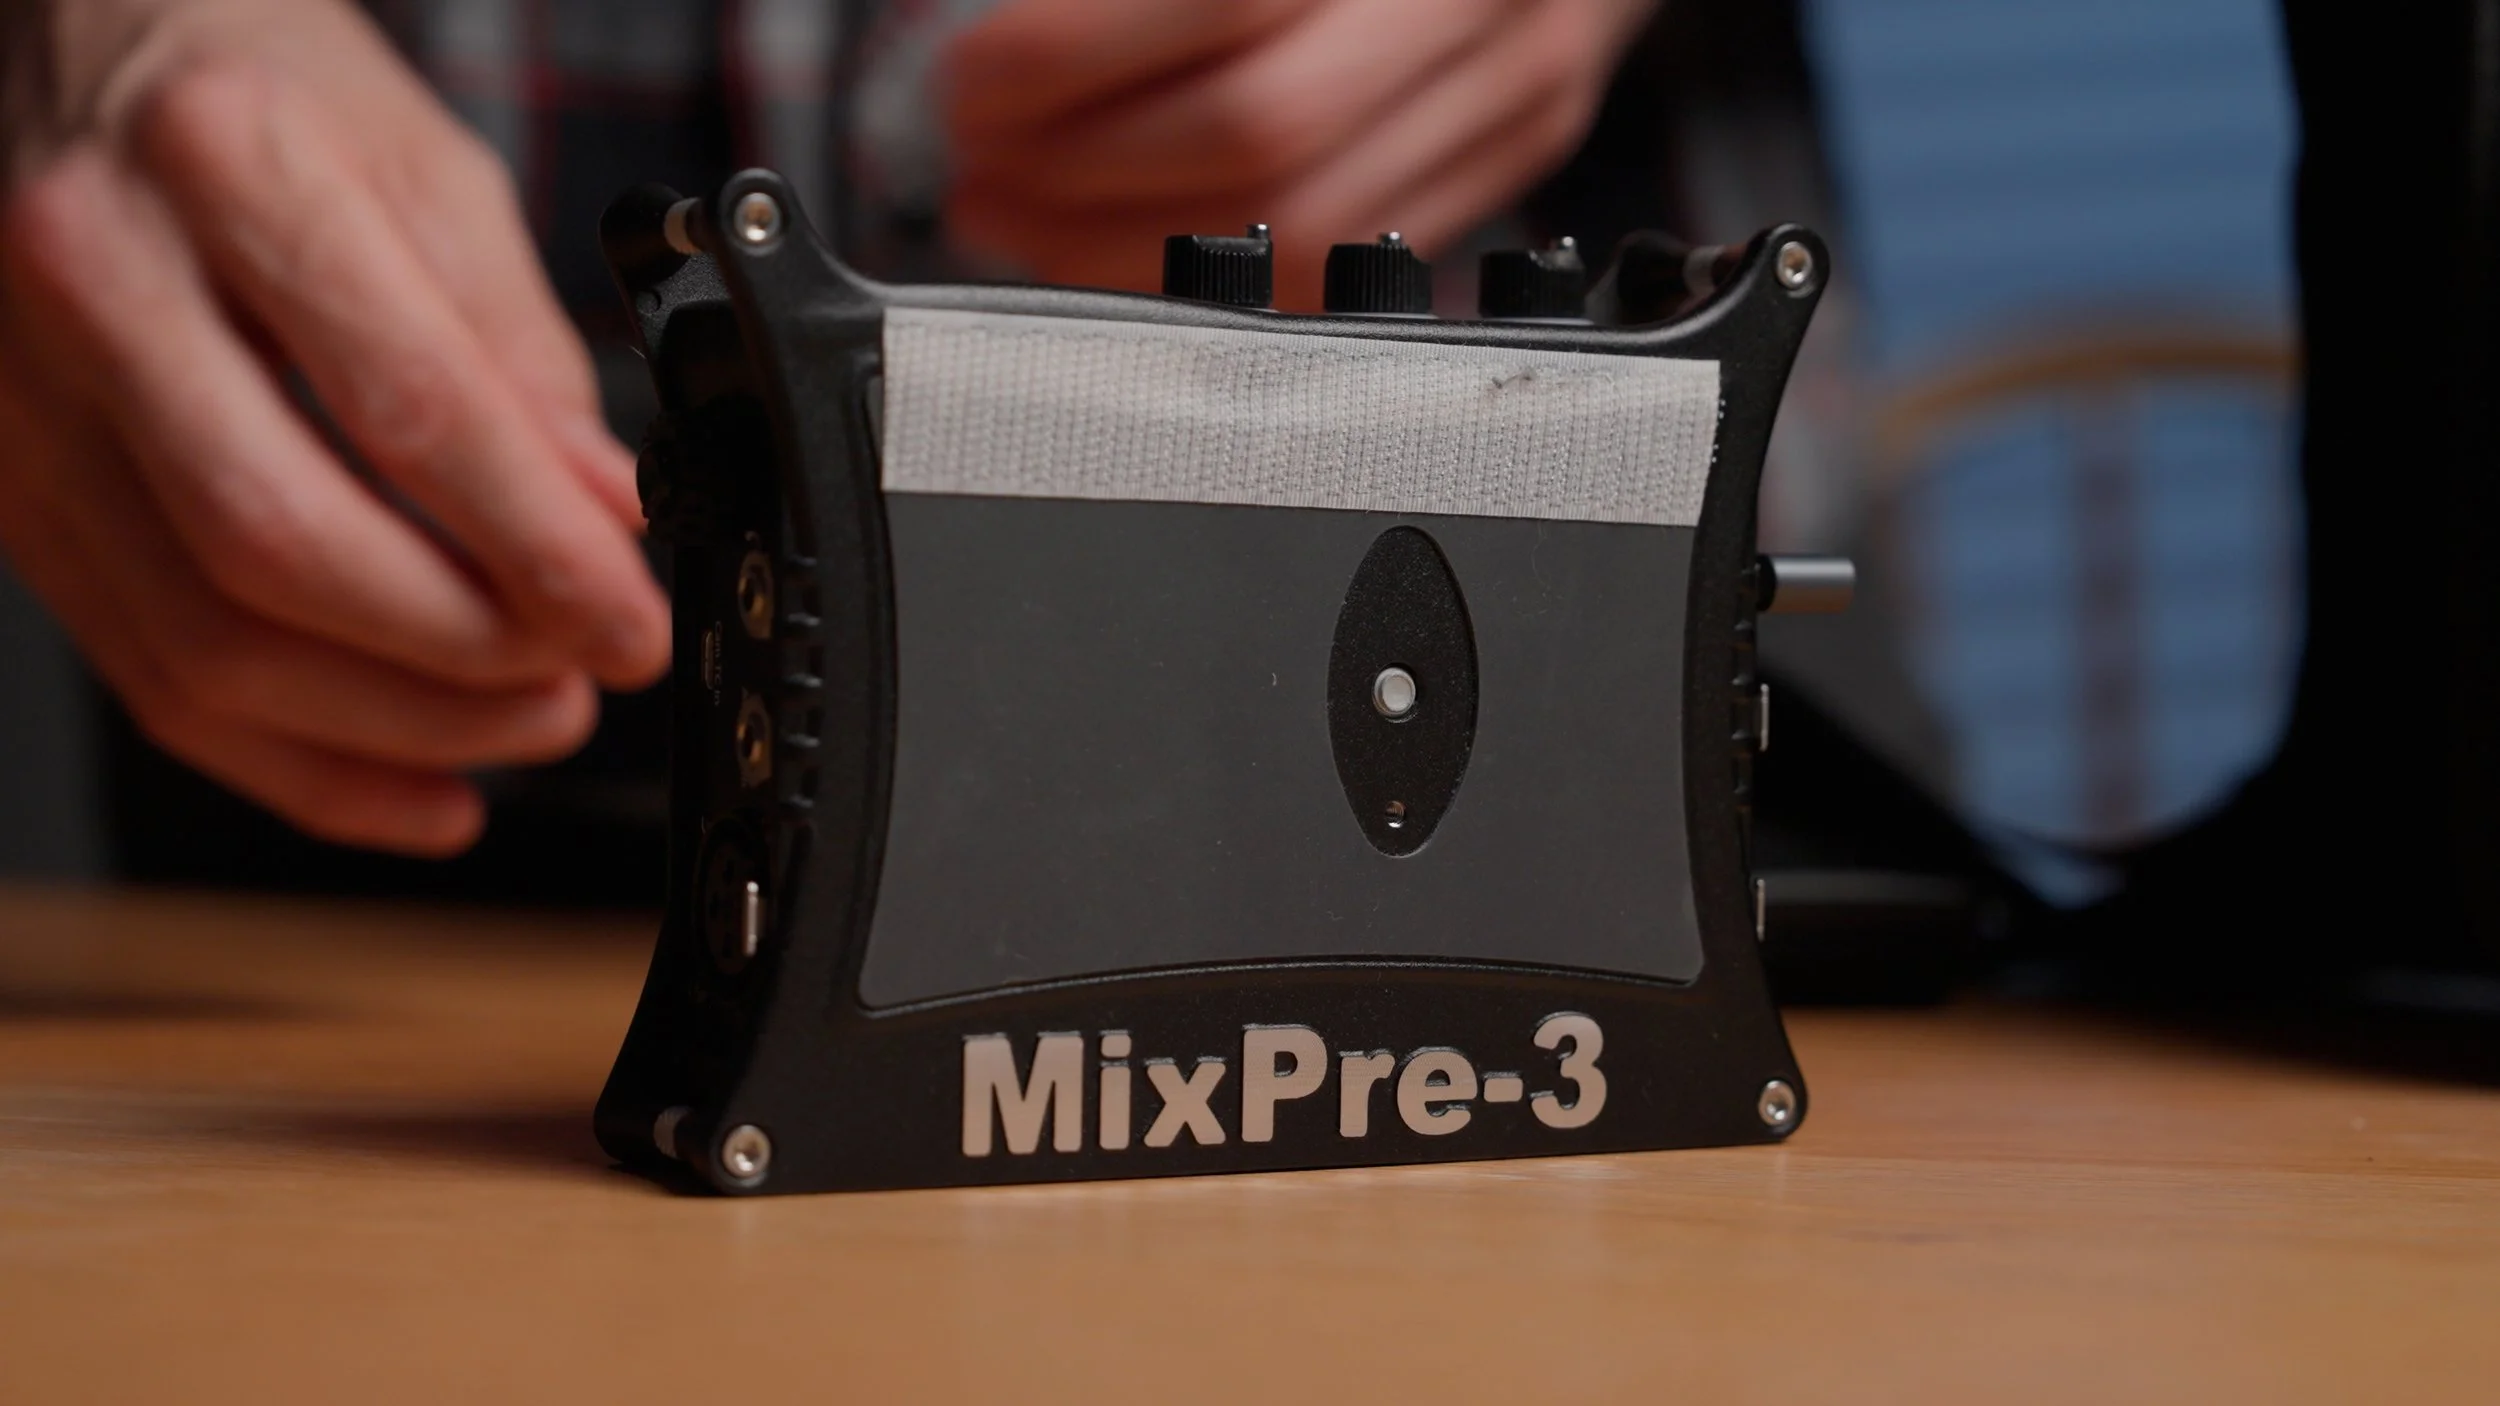
I’m still using the Sound Devices MixPre-3 — a small but mighty recorder with clean preamps and dual recording to SD and USB.
Before that, I used a Zoom H4N2, which I still recommend for filmmakers on a tighter budget.
I record everything in 32-bit float, which is essentially the audio version of RAW photography. It gives you flexibility in post if your levels run a bit hot or quiet.
Headphones
For monitoring, I use the V-Moda Crossfade M-100s.
They’re not traditional “studio” headphones, but I’ve had them for years and know their sound inside out.
The large memory-foam cushions are replaceable, super comfortable for long sessions, and they fold neatly into a protective hard case — ideal for travel or long shooting days. These are discontinued now so I’d remomend these Sony Closed-Back Studio Monitor Headphones
The Sound Bag
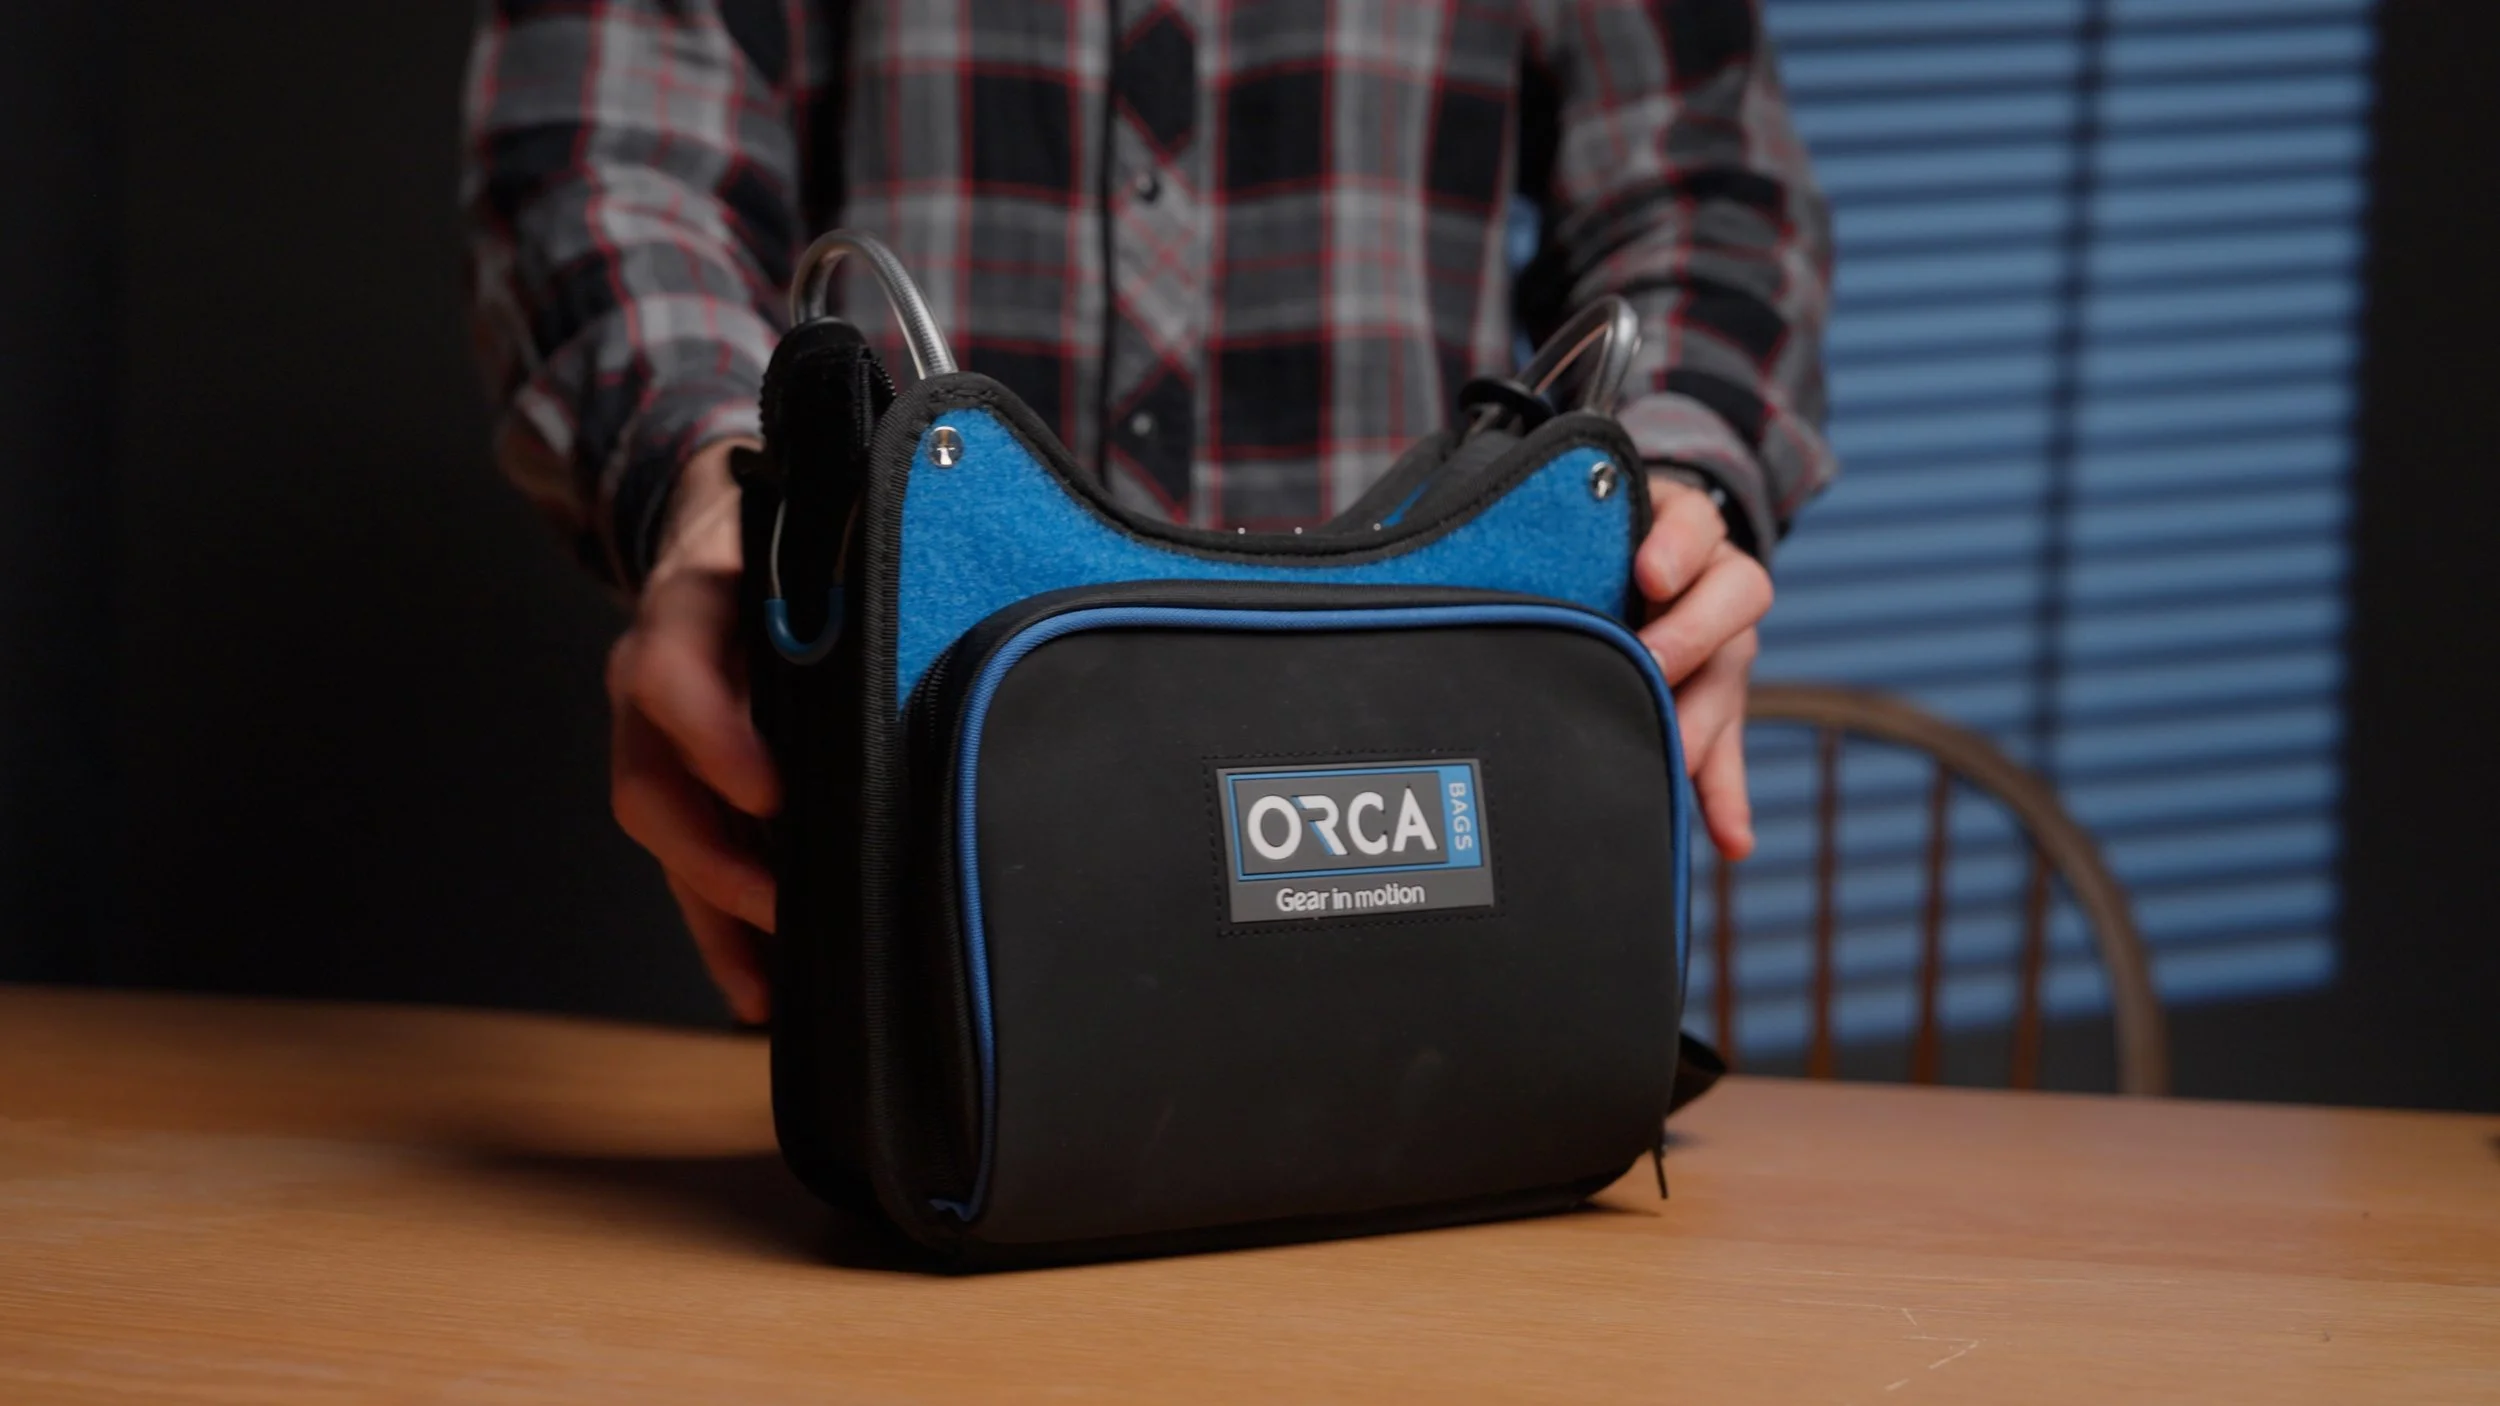
I switched to a smaller Orca sound bag, which perfectly fits the MixPre setup without being bulky.
It has an aluminium frame, easy side access, and a rain cover that attaches with Velcro.
I’ve secured the recorder inside using Velcro tape top and bottom to keep it stable.
Power comes from a RAVPower USB bank, with Sony NP batteries in the sled adapter as backup.
Lav Recorders
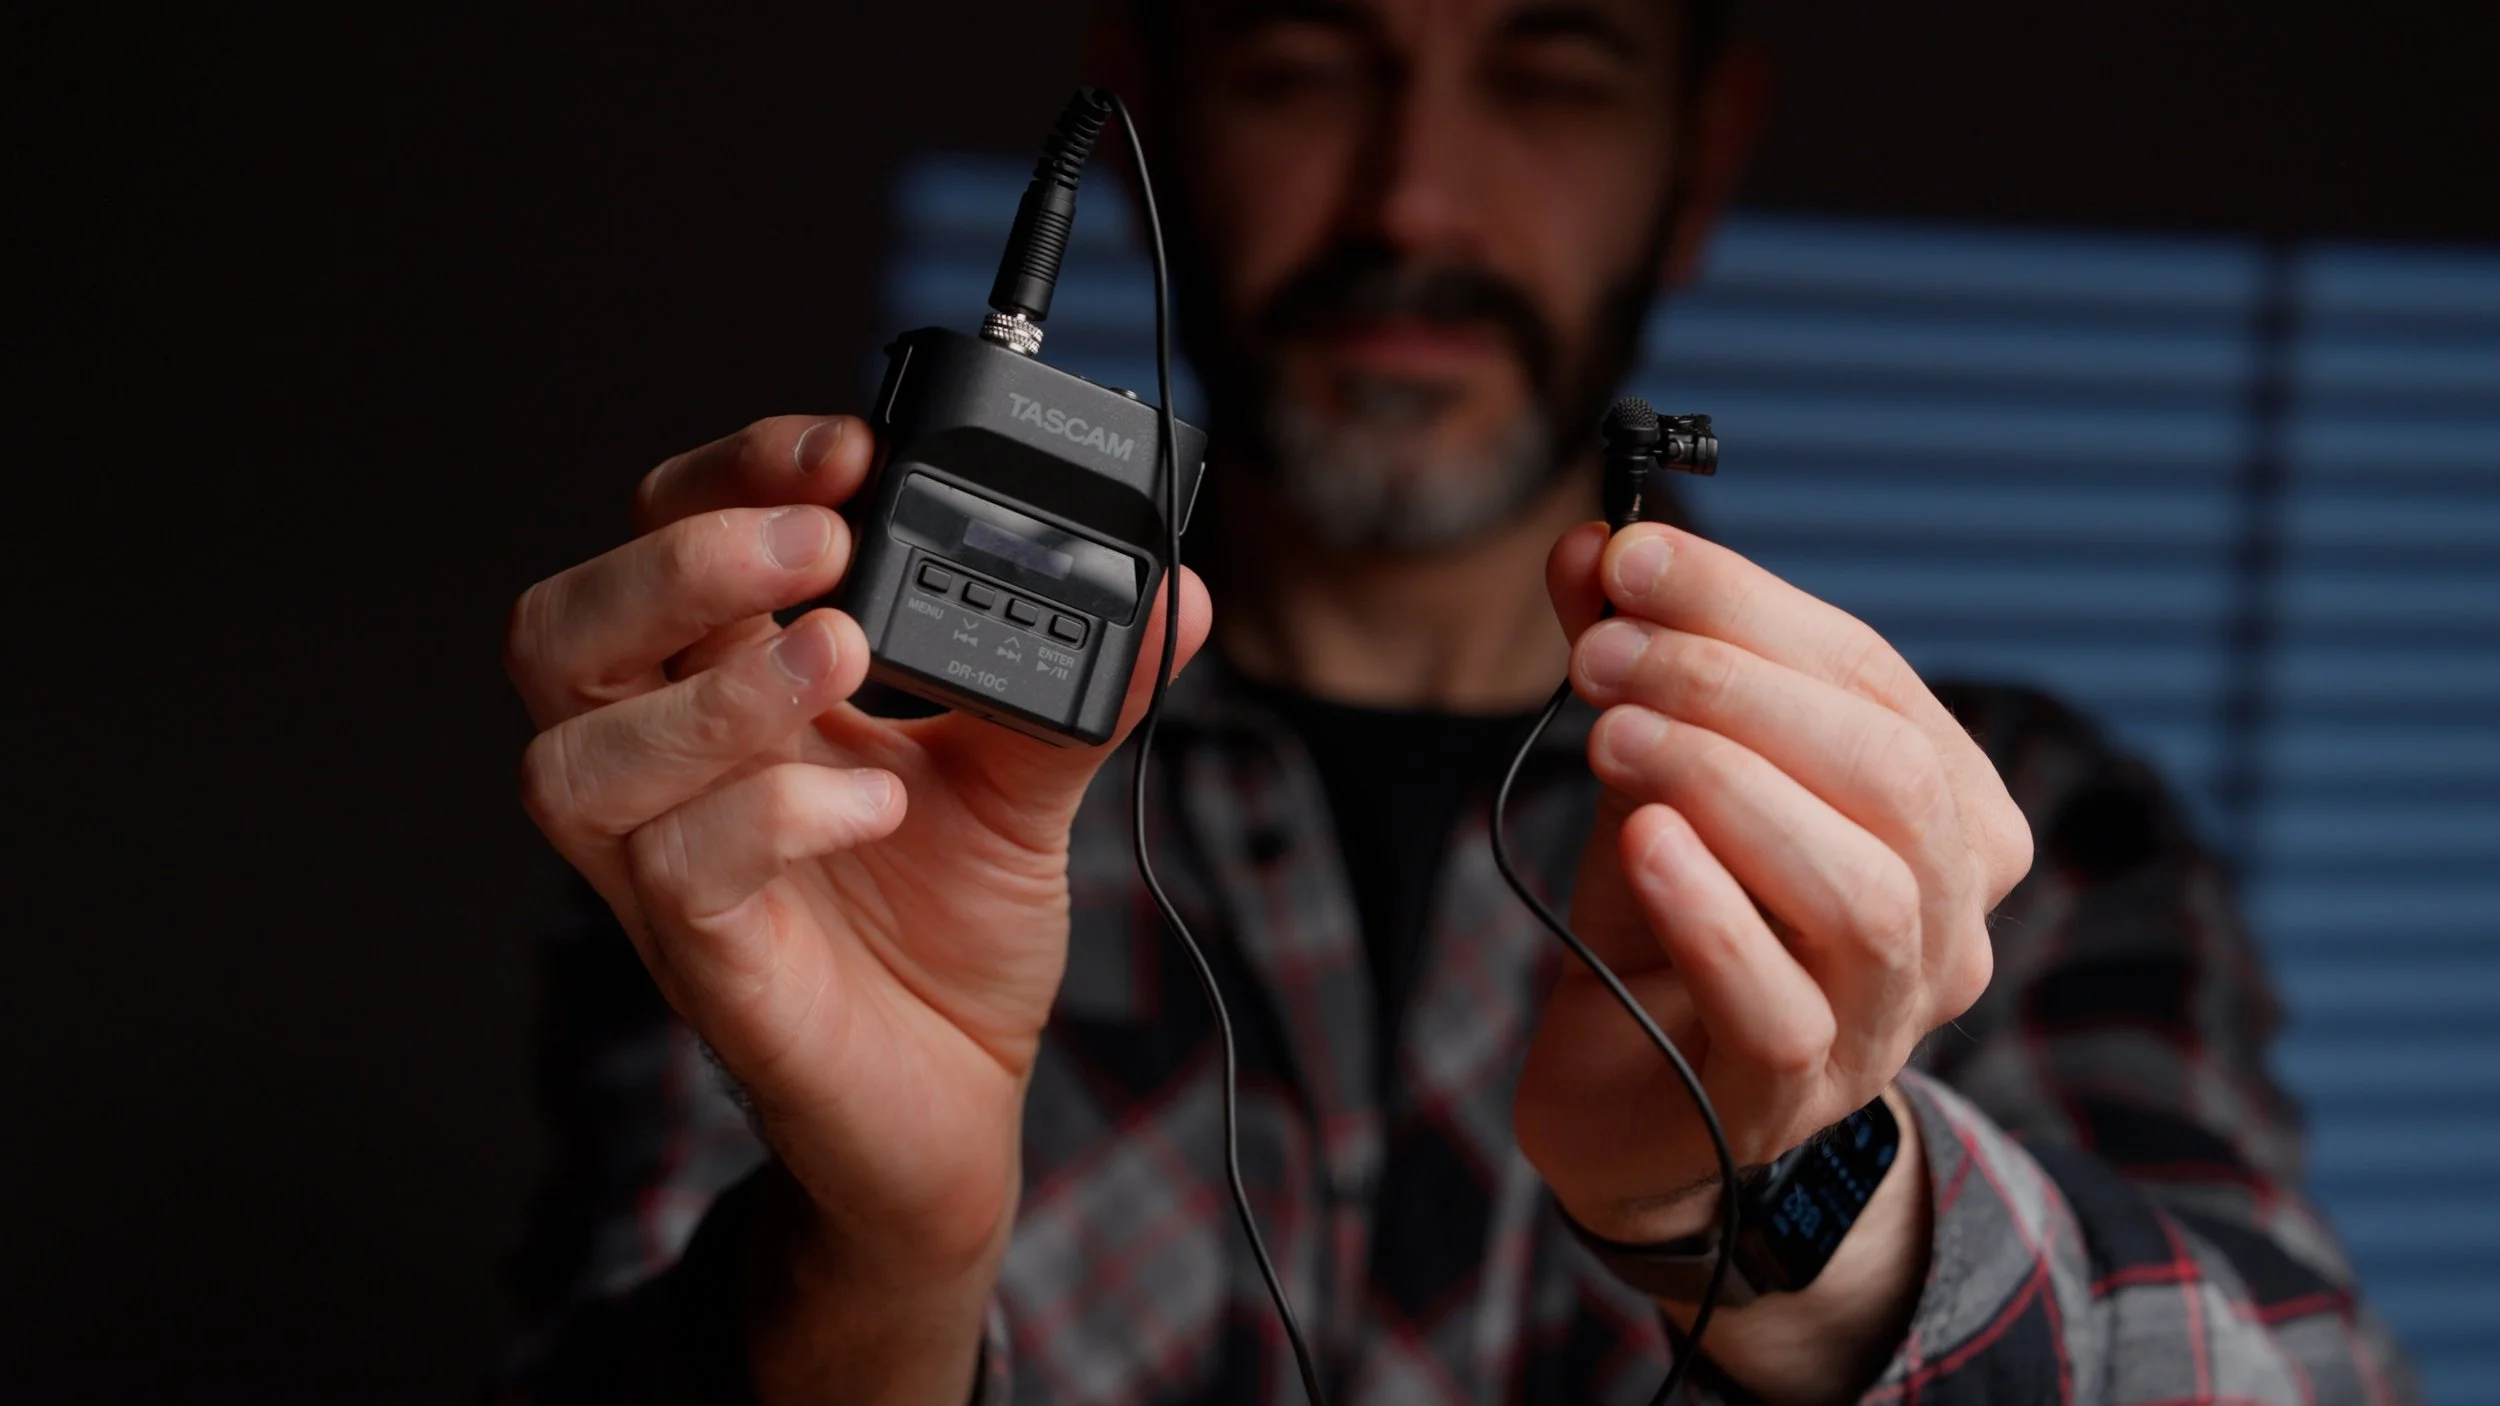
For wireless, I carry Tascam recorders — reliable little units that have saved many wedding and interview shoots.
If your main setup ever fails, these make sure you still have clean, usable audio.
DJI MIC If you wanna upgrade, try this set of Lavs
Shotgun Mics
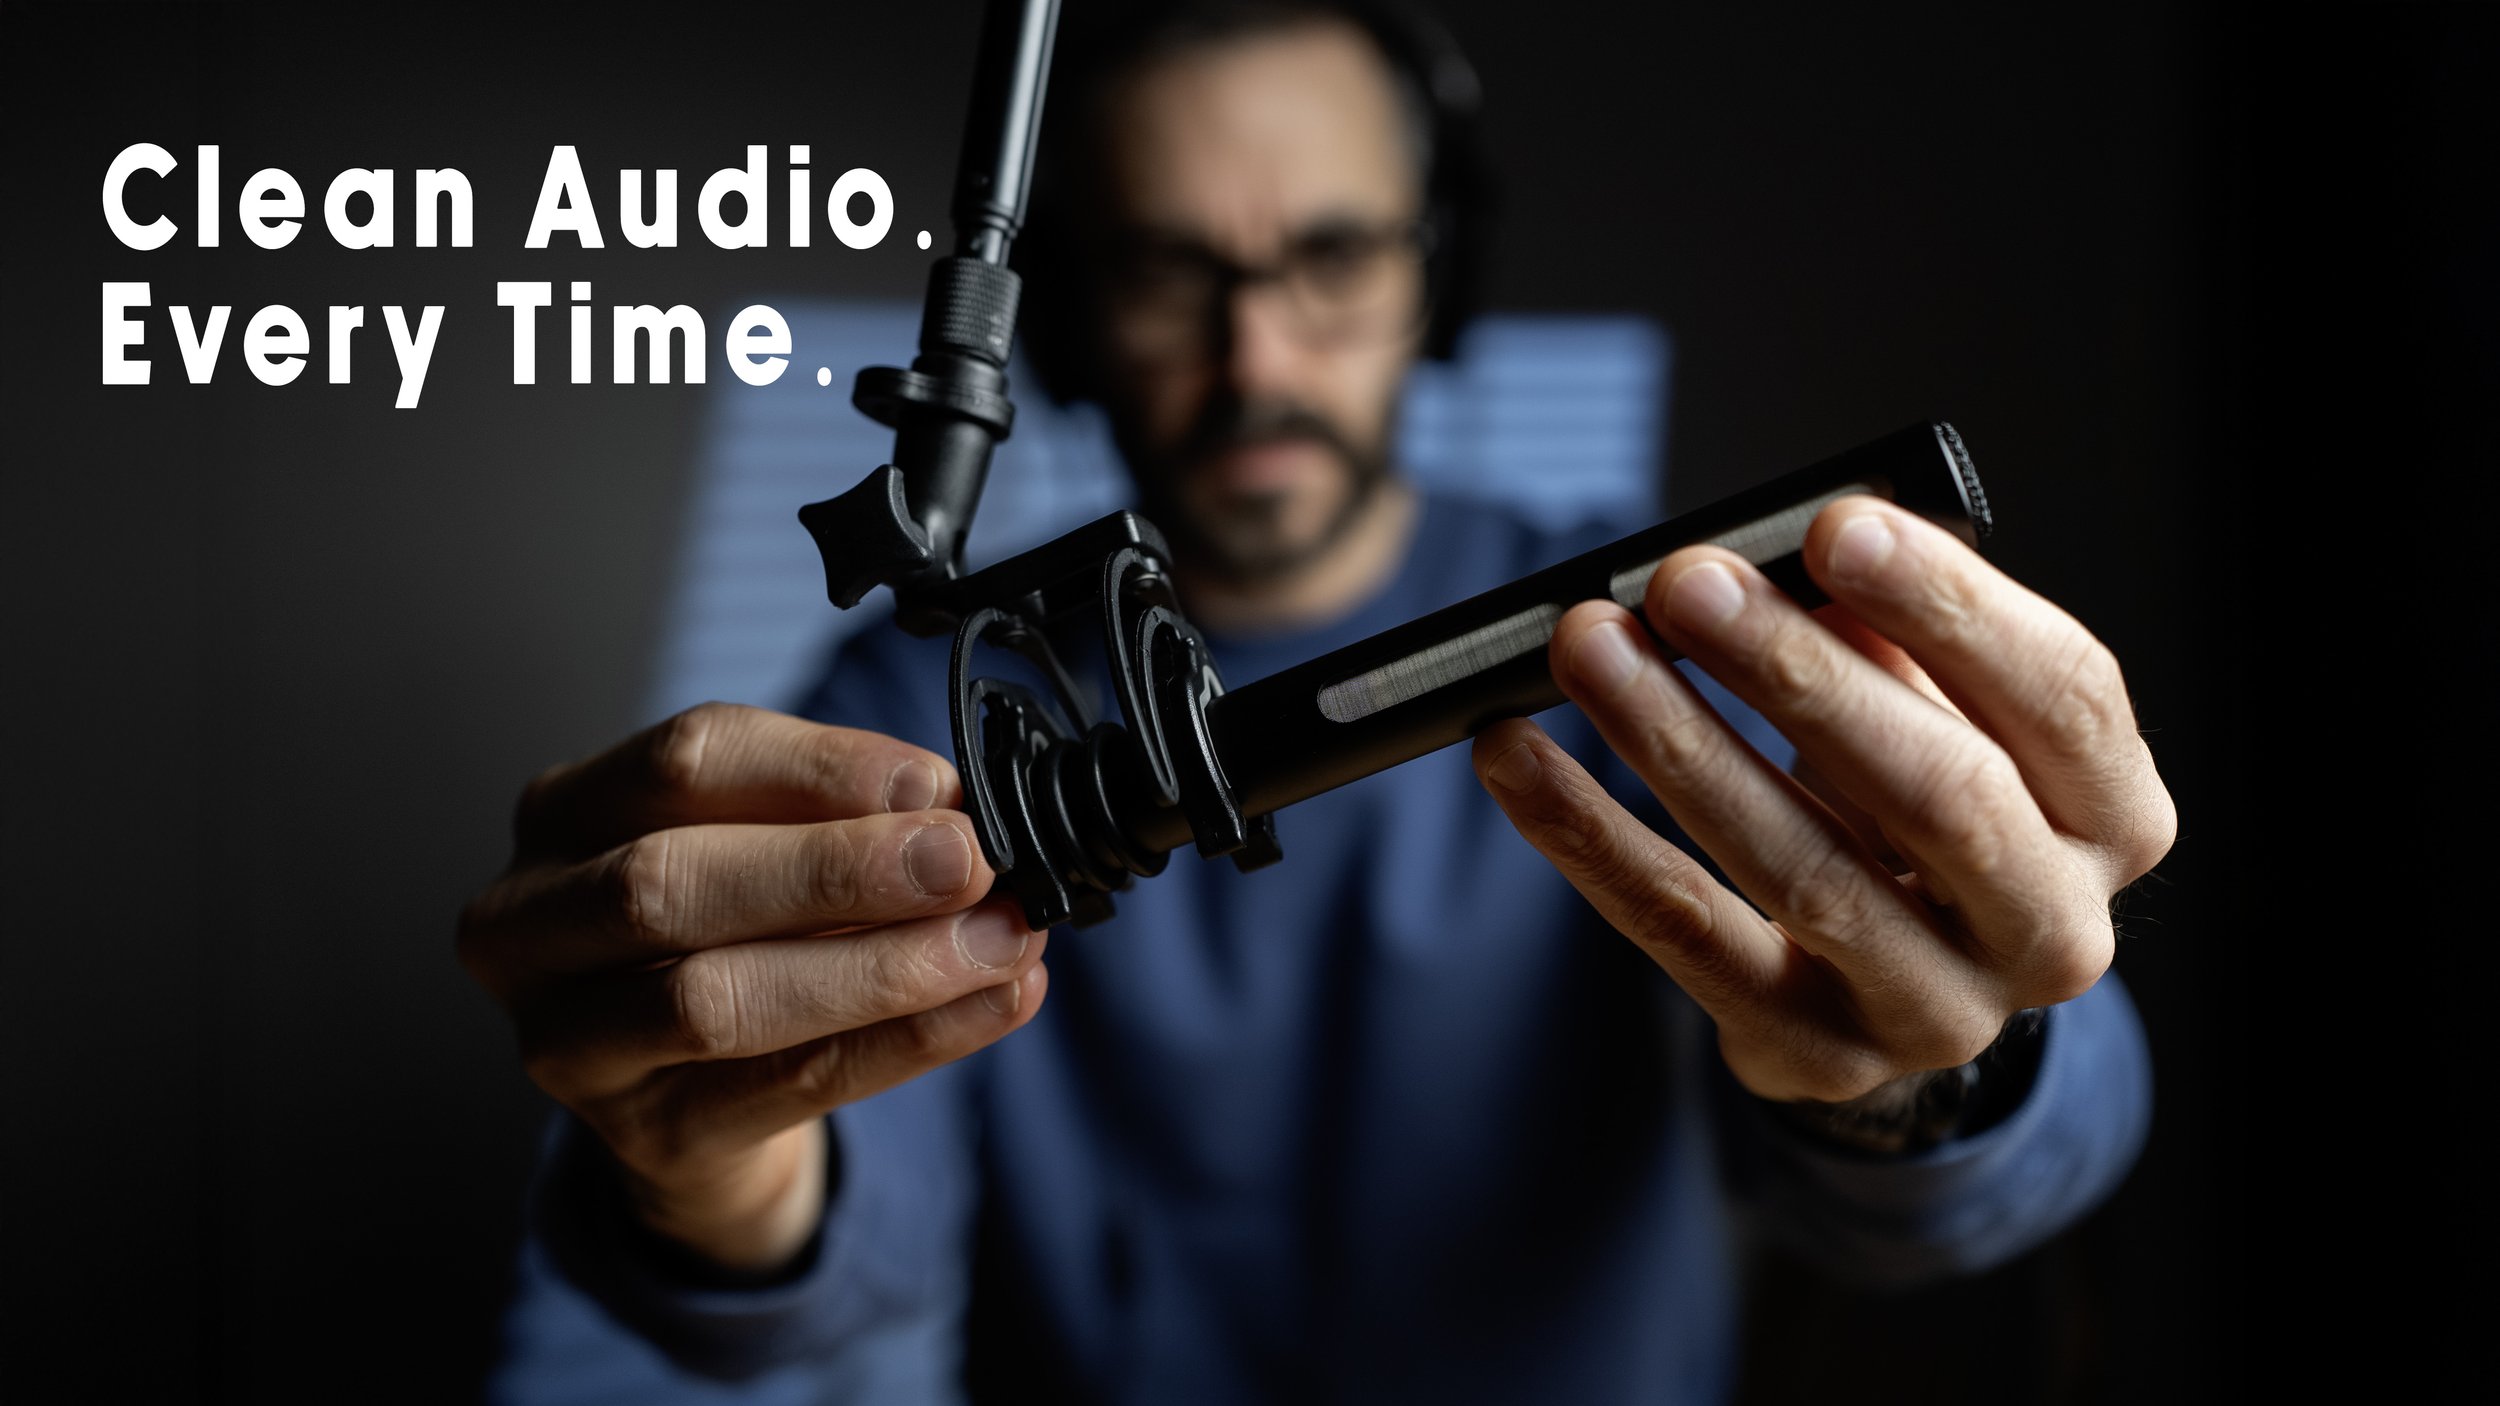
My main shotgun mic is the Audio-Technica AT875R, a compact and lightweight microphone that punches well above its price. It delivers clear, focused dialogue both indoors and outdoors, and it’s an amazing choice for filmmakers upgrading from entry-level mics.
My RØDE NTG2 now serves as my backup shotgun mic — it’s been with me for years and still sounds great.
When filming outdoors, I’ll often use a RØDE Blimp to protect against wind distortion.
If the weather’s milder, a simple universal wind cover works fine for most shotgun mics.
The Boom Setup
My boom pole is an old, second-hand RØDE that I’ve used for years.
Yes, I could upgrade — but honestly, it still works perfectly.
For interviews, I use a C-stand boom setup that holds the mic steady above the talent. It’s built with a boom-pole holder, a grip-head adapter, and a sturdy C-stand.
This simple rig saves your arms and helps you focus on recording levels instead of holding the pole.
Final Thoughts
Sound gear is often overlooked — but it’s literally half of what makes a great film.
Whether it’s music, ambient sound, or dialogue, learning to capture clean audio will transform the quality of your projects.
This setup is the culmination of years of tweaking and refining my kit.
It’s reliable, compact, and affordable — and every piece has earned its place in my bag.
If you’re looking to upgrade your own sound setup, check out the affiliate links below to explore the gear I use daily.
And if you want to see all of this in action, check out my full video on Essential Sound Gear for Filmmaking over on YouTube.
My Audio Kit Summary
Recorder Zoom H4n— clean preamps, 32-bit float
Shotgun Mic Audio-Technica AT875R — main mic
Backup Mic RØDE NTG2
Lav Mics Tascam lav systems
Headphones Sony Closed-Back Studio Monitor Headphones
Sound Bag ORCA OR-270 Sound Bag
Case System US PRO Tool Box + A-Mode Dividers
Boom Pole Old RØDE pole + C-stand mount
Wind Protection Universal Wind Cover
If you found this guide helpful, share it with another filmmaker who could use cleaner audio.
And as always — thanks for reading, and I hope to catch you in the next one.